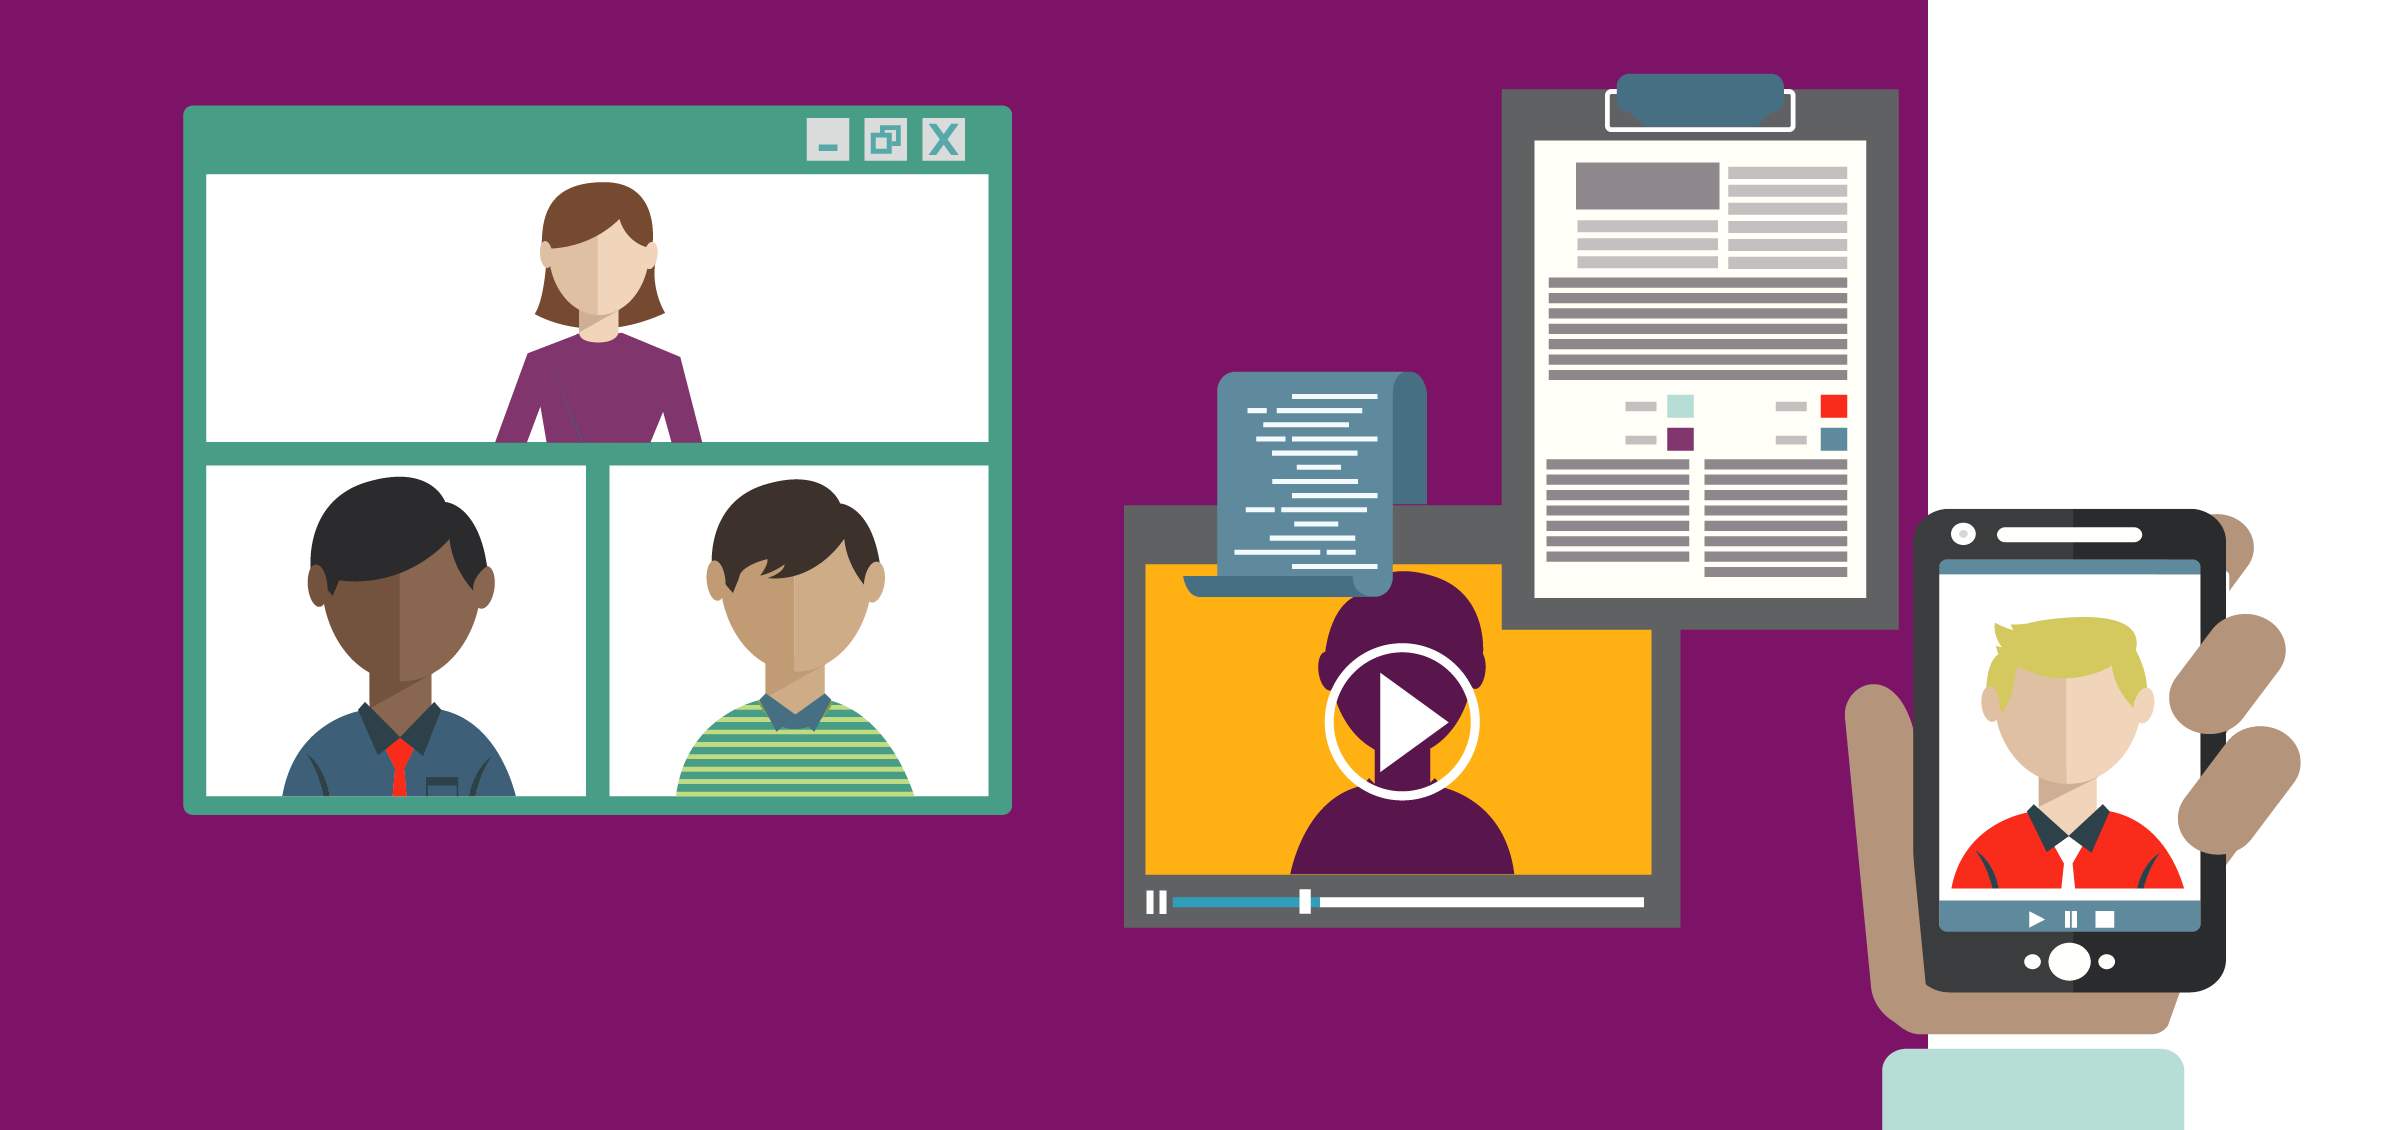
Over the last several years most districts across the country have taken small steps towards incorporating technology into professional practice. District and school leadership teams have discussed options to meet the needs of professionals who are juggling both professional and personal responsibilities. Professional learning, including Twitter chats, online graduate courses, and Facebook book groups have become popular alternatives to “sit-and-get” professional development (PD) options. Although these options have been valuable to many educators, they were often not the norm, as faculty meetings, Professional Learning Communities (PLCs) and professional development workshops were still held largely in person. In Universal Design for Learning (UDL), one common adage is, “What is necessary for some is good for all.” When it comes to facilitating professional learning online, this message rings true.

Virtual Professional Development used to only be for some educators. That is, until COVID-19. Now we have to make it work for them all.
Across the world, educators have shifted their professional learning model from largely face to face to virtual. The play book on this shift doesn’t exist – educators rely on their experience in professional learning, knowledge of collaborative structures, and feedback from colleagues to create a structure that is accessible and engaging. Technology and virtual learning can quickly create barriers and build walls that limit connection. Through ongoing collaboration and feedback, we adjust, adapt, and modify virtual learning to meet the needs of all learners.
As leaders in education, we have found that a shift in structure has been extremely valuable in meeting the needs of colleagues through virtual support. Consider these tips as you transition your face to face sessions to the cloud.
1. Test the Meeting
Provide an option for a “test meeting” where participants can get support with technology or provide optional PD on the platform you are using (i.e, Zoom 101: Making the Most Out of Your Zoom Meeting).
2. Read the “Room”
Send an email to all participants to survey them about accessibility needs to ensure that all participants have internet and a device that supports streaming video. Troubleshoot when necessary.
3. Assign Clear Roles & Responsibilities
Designate roles with co-presenters so the meeting is intentional and well facilitated.
- Facilitator: (Meeting host) Designs and facilitates meeting, creates calendar invite and agenda, attaches docs, assigns breakout rooms.
- Note-taker: Takes real time notes, adds recording into document when available, shares notes with participants at conclusion of meeting.
- Moderator: Assists facilitator, monitors chat, asks for clarification, alerts speaker when they cannot be heard.
- Technical Support: Helps participants with technical issues (set up an offline call if needed).
4. Clarify the Objective
Be clear about the goal of your meeting. By the end of the session, what should participants know? What task should they be able to complete? Share the goal ahead of time. If you don’t have a clear goal, don’t have a meeting.
5. Consolidate and Distribute
Send an invite with multiple tools and resources to support all learners. For example, include a shared agenda with resources to explore/print out ahead of the meeting, a copy of the slidedeck so participants have options/choices to print out to take notes, and a link to join the video conference. Make sure everything is in one place!
6. Caption It
When setting up the Zoom webinar, ensure live closed captions through a secondary service such as 3Play which will result in both live captions and a transcript of the professional learning.
7. Foster Collaboration
Familiarize yourself with all features of the platform you are using to ensure a universally designed experience that fosters collaboration and community. It is important to create settings to allow for private messaging in chat, breakout sessions for small groups to discuss, and the ability to add co-hosts to help to moderate.
8. Options, Options, Options!
During the meeting, create numerous opportunities for interaction through polls, chats, or using another tool such as Meeting Pulse or answergarden.
9. Ask for Feedback
At the end of the meeting, ask for feedback about how the meeting went, and what participants need moving forward.
10. Follow Up
After the meeting, share notes with participants, any/all resources and be clear about any necessary follow-up activities and when they are due.
Next Steps
Universally Designed PLCs can help to increase expert teaching and learning. By optimizing expert learning and focusing on eliminating the barriers that prevent all students from learning, groups of educators can foster growth and improvement. Learn how to build and optimize effective professional learning communities. Explore the free trial.

Additional Resources
- Check out these essentials guidelines for universally designing virtual PLCs Universally Designing your Faculty Meetings and PLCs in the Virtual World.
- Learn about the importance of assigning key meeting roles to ensure smooth professional learning in this article, “Assigning Key Meeting Roles” by University of Wisconsin-Madison.
- Catlin Tucker wrote a great article, “The Effectiveness of Online Learning Depends on Design.”
- NEA Today featured an article, “Bolstering Collaboration Through Virtual Professional Learning Communities.”
- University of Wisconsin-Madison also has a comprehensive (86 page) Facilitator’s Toolkit. The guide notes, “The facilitator tool kit is a comprehensive, easy-to-use guide to tools, methods and techniques for assisting groups with planning and improvement projects and interactive meetings. Its clear, simple explanations and directions lead the reader through the selection and application of practical tools that have been tested with university groups.”


